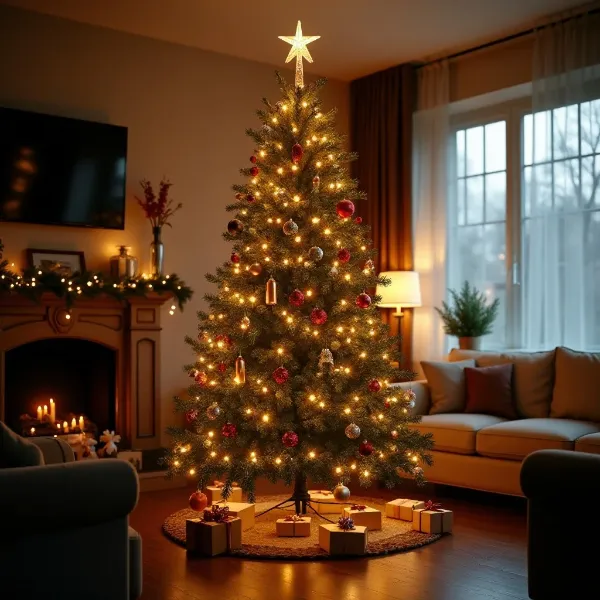
Decorating a Christmas tree is one of the most exciting parts of the holiday season. Whether you're a seasoned pro or this is your first tree, it’s all about creating a warm, festive atmosphere that you and your loved ones can enjoy. In this guide, we’ll walk you through how to decorate a Christmas tree, step by step, with simple, professional tips that will help your tree shine.
Introduction to Decorating Your Christmas Tree
Decorating the Christmas tree is a beloved holiday tradition. It’s an opportunity to bring family and friends together, reflect on the year, and embrace the holiday spirit. Whether you're aiming for a classic look or something more modern and bold, decorating your tree allows you to personalize your space. Let's dive into how to decorate a Christmas tree to make it the centerpiece of your holiday celebrations.
Why Tree Decorating is a Holiday Tradition
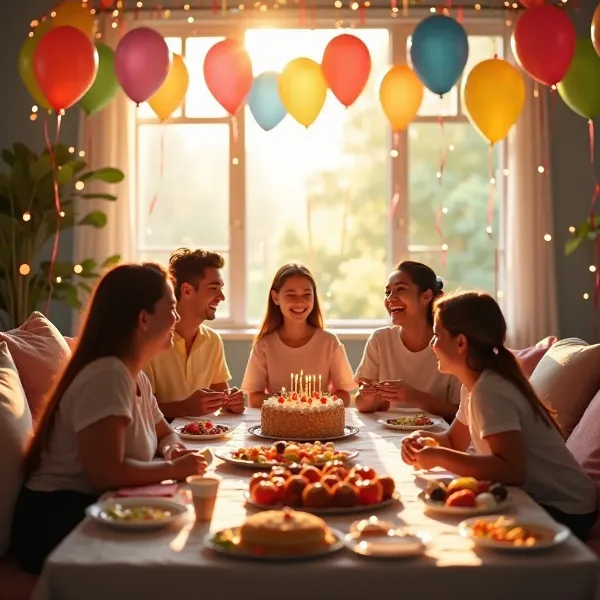
The tradition of decorating the Christmas tree brings families together. It’s more than just a chore, it’s a time to bond, reminisce, and get into the holiday spirit. For many, it marks the start of the season and fills the home with a sense of warmth and joy. Over the years, the tree has become a symbol of love, hope, and togetherness.
Why It’s Important to Get It Right
The tree often becomes the focal point of your holiday decorations. A beautifully decorated tree adds a special touch to your home, making it feel festive and cozy. Whether you keep it simple or go all out with decorations, getting it right creates a memorable experience for everyone who gathers around it. Plus, it sets the mood for all your holiday gatherings!
Step 1: Prepare Your Christmas Tree
The first step in decorating your tree is making sure it’s ready to be transformed into a holiday masterpiece. Whether you’re working with a real tree or an artificial one, the preparation stage is crucial.
Fluffing the Branches for a Full Look
For artificial trees, the first thing you'll want to do is fluff out the branches. This makes a huge difference in how your tree will look once it’s decorated. Start by gently pulling apart the branches from the center, working your way out to the edges. This creates a fuller, more natural look and helps the ornaments stand out.
Positioning the Tree in the Perfect Spot
Once your tree is fluffed, it’s time to position it. Ideally, place it in a central location where it can be admired from multiple angles. Make sure it’s near a power source for the lights and that it's sturdy enough to withstand any curious pets or children. A solid base will keep the tree steady and prevent any accidents.
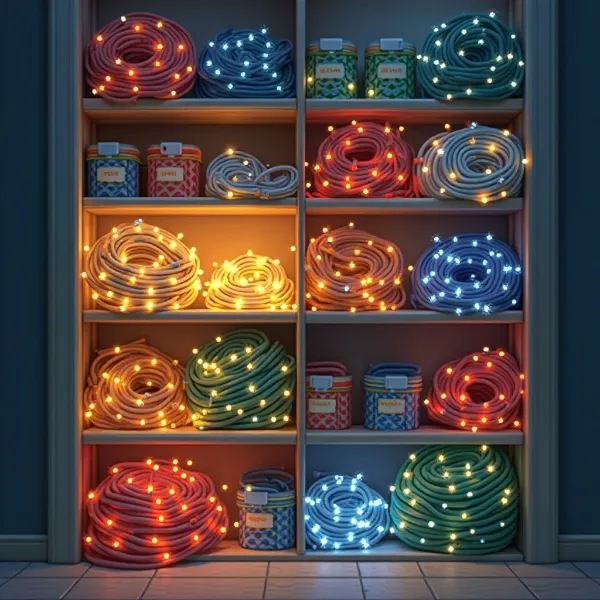
Step 2: Add Lights for a Festive Glow
Lights are essential when decorating your tree—they set the tone for the entire look. Adding lights first ensures that they are evenly distributed, making it easier to position them before other decorations are added.
How to String Lights on a Christmas Tree
Start at the bottom of the tree and work your way up. Wrap the lights around the branches, but don’t crowd them in one spot. Aim to space them out evenly, weaving the strands in and out of the branches for depth. Clear lights are a classic choice, but if you prefer a more colorful vibe, string some vibrant lights throughout the tree.
Tips for Avoiding Dark Spots and Overloading Circuits
For a balanced look, make sure the lights are evenly spaced out. If you’re using multiple strands of lights, be mindful not to overload your electrical outlets. Check the manufacturer’s guidelines to see how many strands can safely be connected to avoid circuit overload. And, of course, double-check that all the bulbs are working before you start decorating!
Step 3: Incorporate Garlands and Ribbon for Structure
Once the lights are in place, it's time to add texture and structure with garlands and ribbons. These elements help create layers and bring a sense of flow to your tree’s overall look.
How to Drape Garland for a Balanced Look
Garlands are a great way to fill out the tree and add some visual interest. Begin at the top and work your way down, draping the garland loosely around the tree. Mix different types of garlands—beads, tinsel, or even natural-looking ones like pinecones or cranberries. This will help you achieve a well-balanced, elegant look.
Ribbon Tips for Adding Flow to Your Tree
Ribbons are another fun way to enhance your tree’s design. For a professional look, avoid wrapping the ribbon tightly around the branches. Instead, let it flow loosely and naturally. You can use wide, wired ribbon to give the tree a bit of movement, or choose ribbon in complementary colors to tie the overall look together.
Step 4: Hang Ornaments Like a Pro
Now it’s time for the fun part—decorating your tree with ornaments! Ornaments are the heart and soul of Christmas tree decorating, and how you hang them can make a big difference in the overall appearance.
Large Ornaments First, Small Ones Last
When decorating with ornaments, start with the large ones. These should be placed closer to the trunk of the tree for a sense of depth. Then, hang smaller ornaments toward the outer edges of the branches for balance and symmetry. This layering effect makes your tree look fuller and more dynamic.
Hanging Ornaments for Depth and Balance
To add dimension, vary the sizes of your ornaments. Place large ones in the center, and scatter medium-sized and smaller ones around the tree. Avoid clumping all your ornaments in one area—spread them out to create balance. This will help the tree look well-rounded from every angle.
Creative Ornament Ideas to Elevate Your Tree Design
Think outside the box when choosing ornaments. Whether you opt for traditional glass baubles, DIY crafts, or quirky, modern pieces, make sure they reflect your style. Combining materials like wood, metal, and fabric creates a rich, textured look. Experiment with different shapes, too, to give your tree a more unique and personal touch.
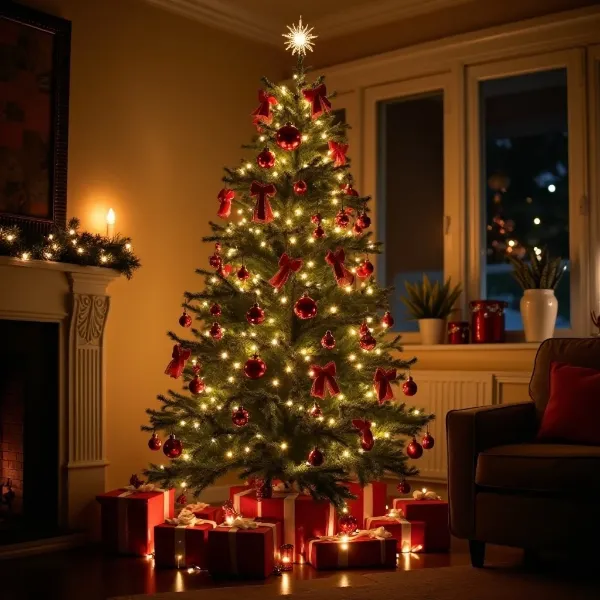
Step 5: Finishing Touches: Topper and Skirt
The final step in decorating your tree is adding the finishing touches: the tree topper and skirt. These details tie everything together and give your tree that final polished look.
Choosing the Right Tree Topper for Your Theme
Your tree topper is like the cherry on top of your tree. Whether you go for a classic star, an angel, or something more modern, your topper should complement the theme of your tree. Make sure it’s proportionate to the size of the tree, too—it shouldn’t overpower the decorations below it.
The Importance of a Tree Skirt
A tree skirt is not only functional (it covers the tree stand) but also adds a beautiful finishing touch to your tree. Choose a skirt that matches your tree’s overall look—whether it’s a classic red velvet skirt, a rustic burlap one, or something sparkly to match your festive theme.

Tips for Decorating a Christmas Tree Like a Professional
Want your tree to look like it was decorated by a pro? Here are a few more tips to take it to the next level.
Add Texture and Layers with Different Decorations
Incorporating a mix of textures—like glass, fabric, and wood—adds depth and richness to your tree. Don’t be afraid to get creative by using textured ribbons, unique ornaments, or natural elements like pinecones or dried flowers. The variety of textures will make your tree feel more dynamic and interesting.
Using a Theme to Tie the Design Together
A cohesive theme can make your tree look more polished and organized. Whether you choose a traditional color scheme like red and green or go for something more modern like gold and silver, a theme helps tie everything together. It’s a simple yet effective way to give your tree a professional and stylish look.
Common Mistakes to Avoid When Decorating a Christmas Tree
While decorating your tree is a fun activity, there are a few common mistakes to watch out for.
Overloading the Tree with Too Many Ornaments
It’s easy to get carried away with all the beautiful ornaments, but overcrowding your tree can make it look messy. Stick to a balance—use enough ornaments to make your tree look full, but avoid overloading it. Focus on quality over quantity to keep things elegant and tasteful.
Forgetting About the Tree’s Shape and Balance
Every tree has its own natural shape. Make sure you’re mindful of this when decorating. Don’t place all the heavy ornaments on one side, as it can cause your tree to tip over or look unbalanced. Spread out the decorations evenly for a more cohesive look.
Conclusion
Decorating a Christmas tree is one of the most enjoyable parts of the holiday season. By following this step-by-step guide, you can create a stunning tree that will be the highlight of your home. From prepping the tree and adding lights to the final touches like ornaments and a tree skirt, each step is essential for achieving a polished, professional look. With a bit of creativity and attention to detail, you’ll have a beautiful Christmas tree that brings joy and cheer to your home.